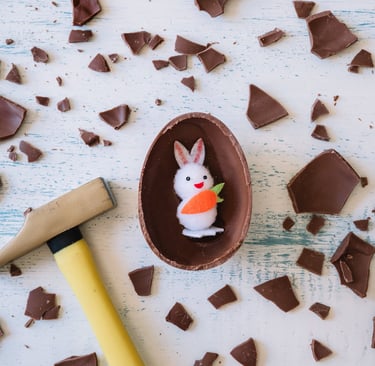
How to Make Your own Vegan Chocolate Easter Eggs at Home
4/7/20253 min read

Whether you’re dodging dairy, keeping things cruelty-free, or simply enjoy getting a bit hands-on in the kitchen, making your own chocolate eggs is easier (and more satisfying) than you might think.
Forget overly sweet shop-bought ones with palm oil and mystery ingredients — these are rich, glossy, and properly grown-up, while still keeping all the nostalgic joy of cracking into a chocolate shell.
Let’s get cracking. (Sorry.)
What You’ll Need
Ingredients:
Good quality dark chocolate (at least 70%, check the label for milk powder — some sneak it in)
Optional fillings: nut butter, crushed nuts, dried fruit, homemade caramel, or even a cheeky bit of orange zest
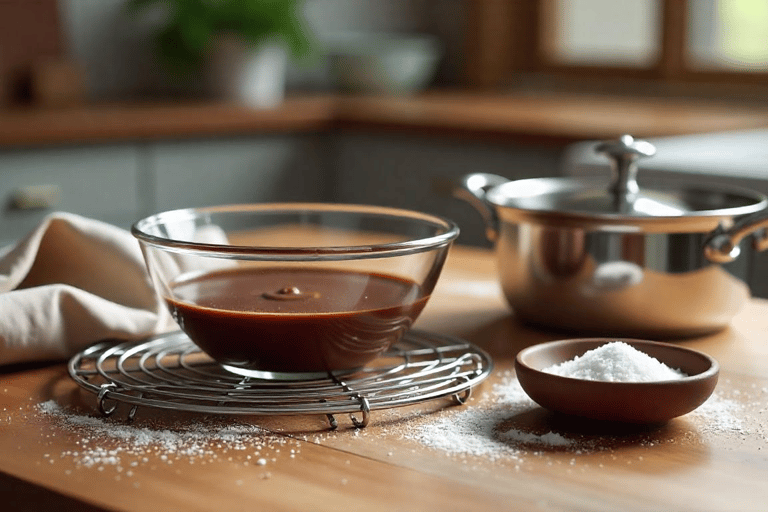
A tiny pinch of sea salt (elevates everything)
Equipment:
Egg moulds — silicone ones are easiest to work with
Pastry brush or the back of a spoon
Bowl for melting chocolate (glass or metal)
A saucepan to use as a double boiler
Baking paper or a wire rack for cooling

How to Make Your Chocolate Eggs
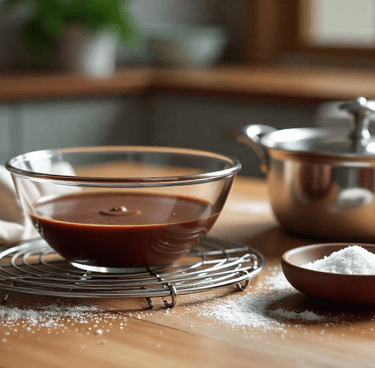
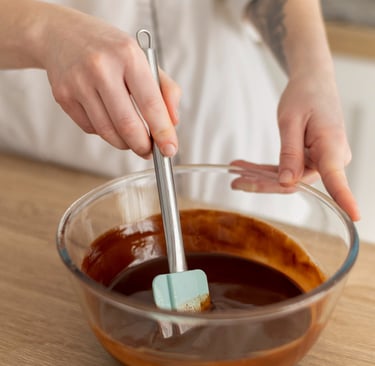
Step 1: Melt the Chocolate (Gently Now)
Use the double boiler method:
place your chopped chocolate in a heatproof bowl set over a pan of gently simmering water (don’t let the bowl touch the water). Stir with patience and love until smooth.
Tip:
Don’t rush this. High heat can make the chocolate seize or go grainy.
Step 2: Coat the Moulds
Using a pastry brush or the back of a spoon, gently paint the inside of the moulds with melted chocolate. You’ll want to do two to three layers for sturdiness — chilling between coats helps.
Tip: Pop the moulds in the fridge or freezer for 5–10 minutes between layers. Just enough to set the chocolate, not freeze it solid.
Step 3: Add Your Fillings (Optional but Very Fun)
Once the final layer is set but still slightly tacky, you can add a dollop of nut butter, a few chopped hazelnuts, or even a spoon of homemade date caramel (blend soaked dates, a dash of plant milk, and a pinch of salt until smooth).
Just don’t overfill — you still need to seal the halves together.


Step 4: Join the Halves
Warm a plate just slightly (a few seconds in the microwave should do), then gently press each egg half onto it for a moment to soften the edges. Quickly press the two halves together and hold for a few seconds.
Tip: If they’re refusing to stick, brush a little extra melted chocolate around the edge and try again. Chocolate glue: it’s a thing.


Step 5: Chill and Admire
Let your assembled eggs rest in the fridge for about 30 minutes, or until they’re properly set. Then admire your handiwork
Extra Tips for Eggcellence
Tempering your chocolate gives it that crisp snap and glossy finish, but if this sounds like too much faff, don’t worry — they’ll still taste amazing.
Use good-quality chocolate. This is the main event, after all. You deserve the good stuff.
For a fun twist, try swirling in some melted plant-based white chocolate or adding crushed freeze-dried raspberries.